How to: Write and Read using VoiceThread and Storybird
Read alouds are a staple in many classrooms around the world. We know that read alouds can be beneficial for both older and younger students. Creating a VoiceThread read aloud can be a wonderful learning experience for all students and a great way to assess reading ability for their teachers.
However, listening to students reading a published work by an author they love on a VoiceThread is tricky when we consider copyright and fair use rules. The good news is that you don’t need to violate copyright laws to create VoiceThread read alouds. One way to get around copyright issues is to have students read original works that they write themselves by using storybird and VoiceThread together!
Instead of using read alouds to assess reading ability alone, why not have give your students experience both writing and reading their own work? If you want to give it a try, we broke down the process into 16 easy steps.
STEP 1: Login to storybird.com.
STEP 2: Click on “write” in the upper-left.

STEP 3: Scroll or search through the images and click on one that you like.
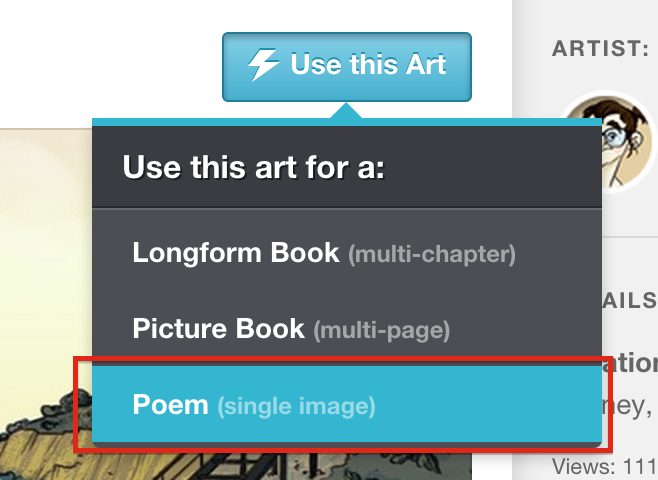
STEP 4: Click “use this art”.

STEP 5: Choose which style of writing you’re doing.
(For this example, we chose a poem)
STEP 6: If you are creating a poem, simply drag the words where you like.
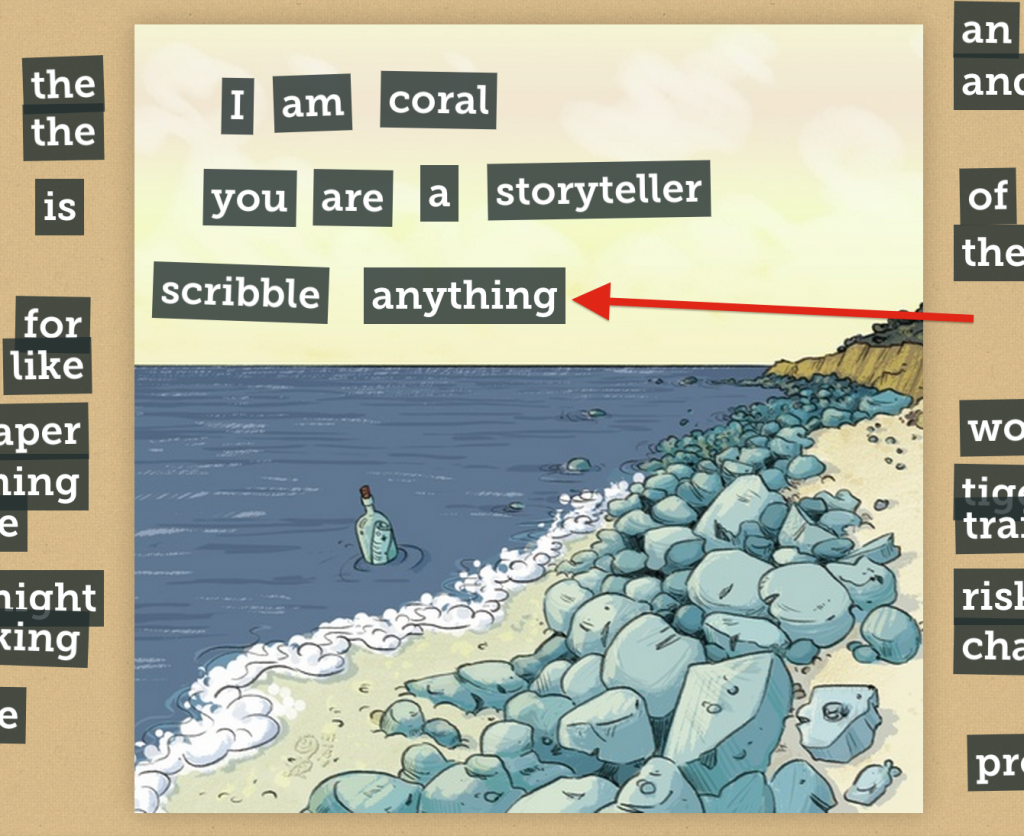
Optional Step: If you don’t like the word choices, just click the refresh button in the bottom-right corner

STEP 7: When you are satisfied with your poem, click “menu” then “publish”.

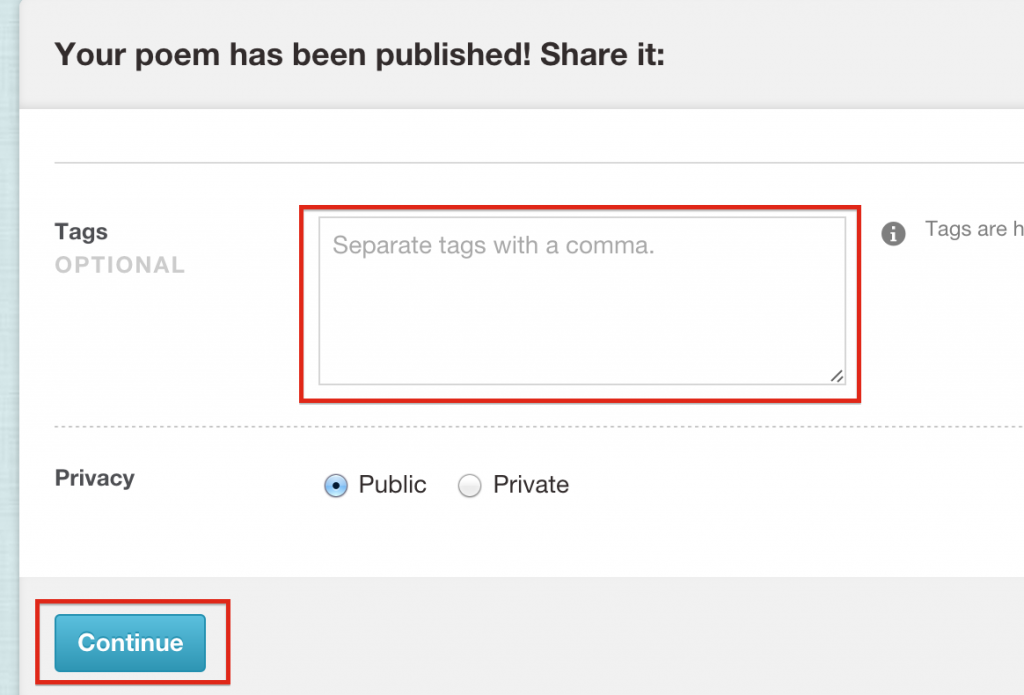
STEP 8: Give your poems tags, then click “continue”.
Now that your poem is complete, it’s time to turn it into a VoiceThread so you can read it aloud!
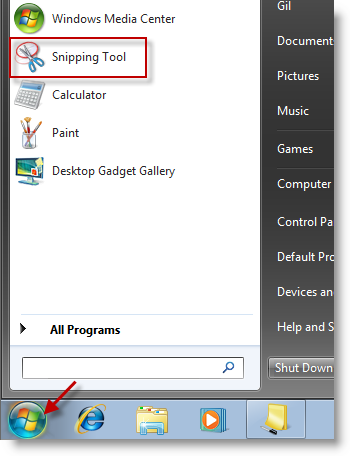
STEP 9: Take screenshots of their storybird stories.
On a Windows machine, use the “snipping tool”
On a Mac use command+shift+4

STEP 10: Login to VoiceThread.com
STEP 11: To upload those images to a VoiceThread, click “create”.

STEP 12: Click “Add Media” then search “My Computer” for the images.
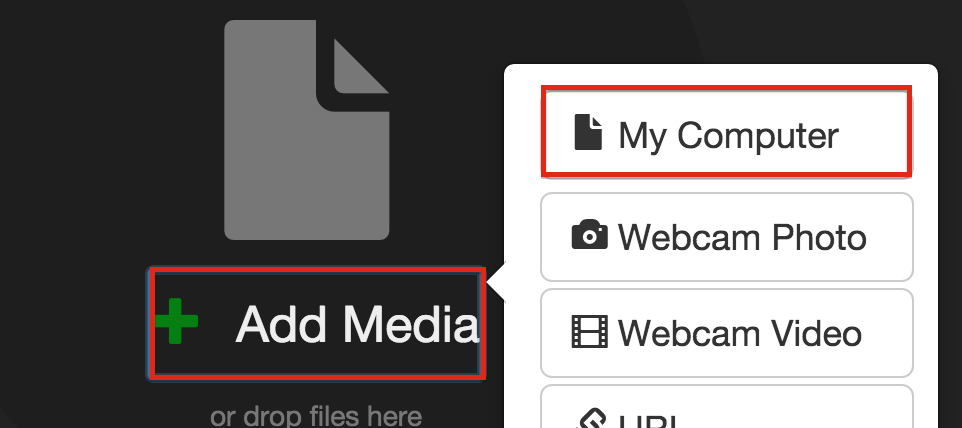
STEP 13: Once the images are processed, click “comment”.

STEP 14: Select either audio or webcam as your commenting method, record your narration and click save.

STEP 15: In the upper-left corner, click on the menu then click “share”.
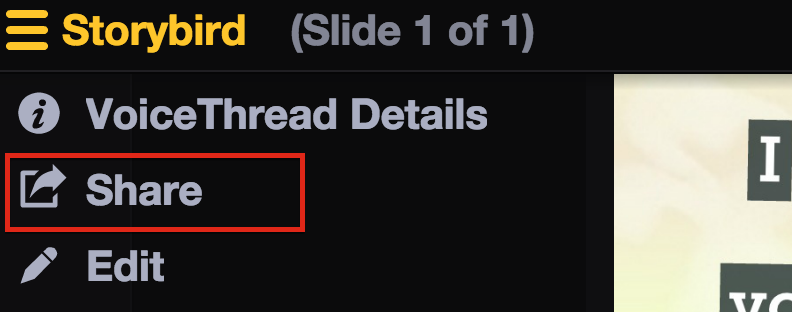
STEP 16: When the sharing window opens, click on the “basic” tab, then click “copy link” then paste it on your website or in an email to share it.

That’s all there is to it!
If you create on original read aloud using storybird and VoiceThread, let us know. We’d love to see your work, so feel free to paste your link in the comment section below!
